Checking the proper functioning of the oil pressure gauge
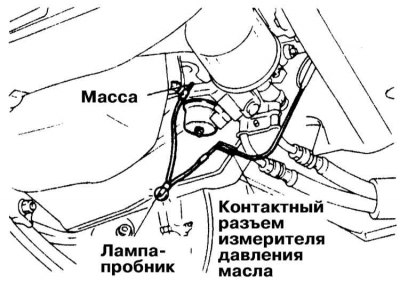
1. Disconnect the electrical wiring from the meter. With the help of a special probe lamp (12 V, 2.4 W) ground the connector pin on the harness side of the meter to ground.
2. Turn on the ignition.
3. If all components of the circuit are working properly, the control lamp will light up and start working in a continuous or flashing mode, the meter needle will move. If the lamp works, but the meter needle remains stationary, replace the meter. In case of simultaneous failure of both the lamp and the meter, an appropriate reconditioning of the electrical circuit should be carried out. Also check the condition of the sensor, if necessary, replace it (see below).
Check of serviceability of functioning of the gauge of pressure of oil
1. Disconnect the wiring harness from the sensor and unscrew it from the full flow oil filter seat.
2. Connect an ohmmeter between the contact terminal and the sensor housing and read the instrument reading. If there is no continuity, replace the sensor.
3. Next, thread a thin rod into the oil hole at the end of the sensor. Press on the rod and read the ohmmeter reading again - the conductivity should disappear, otherwise replace the sensor.
Note. The sensor should open when a pressure of about 5 kgf / cm is created in the hole2.
4. By supplying air to the sensor, check the condition of its diaphragm (the sensor must remain sealed).
Pressure test
1. Disconnect the negative cable from the battery.
If the stereo system installed in the car is equipped with a security code, before disconnecting the battery, make sure that you have the correct combination to activate the audio system!
2. Jack up the car and put it on stands.
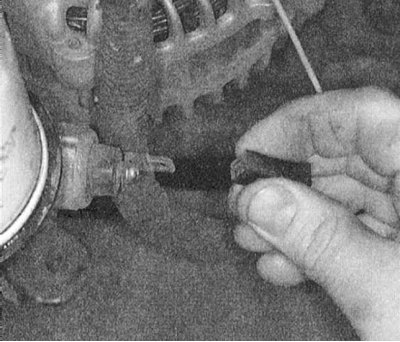
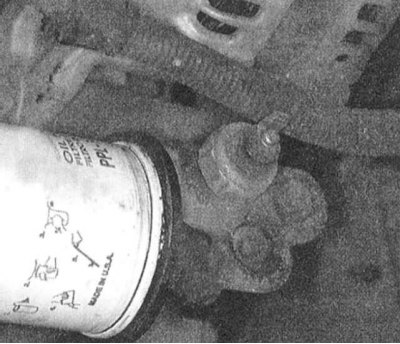
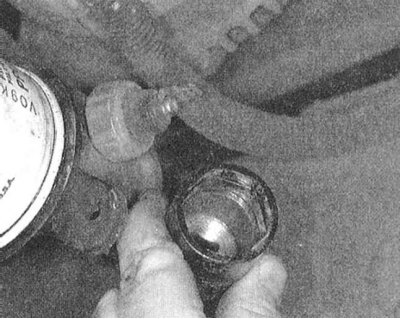
3. Disconnect from the gauge electroconducting and turn out it from a landing head of the oil filter.
 |  |
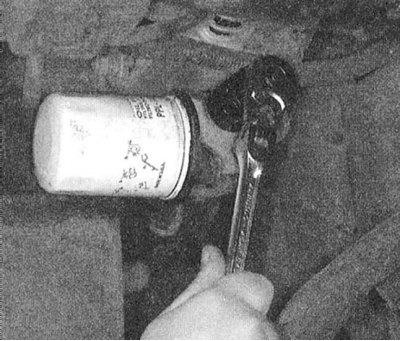 | 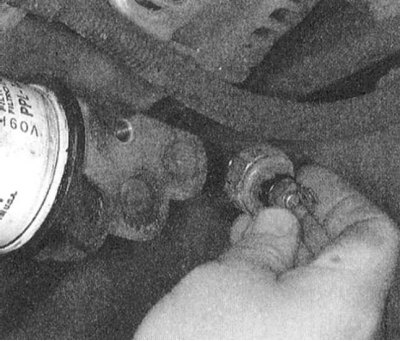 |
4. Checking is done by connecting a special mechanical pressure gauge instead of an oil pressure sensor. A tachometer may also be required if the test is to be carried out at certain engine speeds.
5. Following the manufacturer's instructions, connect a mechanical oil pressure gauge instead of the gauge. If necessary, also connect a tachometer. Connect the negative wire to the battery.
6. Start the engine and leave it running at idle.
7. Read the pressure gauge reading when the engine is cold. Write down the result of the measurement.
Note. If necessary, the engine speed should be set to the specified value - see Specifications.
8. Warm up the engine to normal operating temperature (the upper radiator hose should feel warm to the touch).
9. Read the pressure gauge with the engine hot, record the result, then turn off the ignition.
10. Compare the measurement results with the requirements of the Specifications. Excessively low pressure when the engine is hot and high when cold indicate that the wrong grade of oil was used. Fill the engine with the correct grade of oil and retest.
11. Excessively low readings in both measurements indicate a malfunction of the oil pump (the possibility of using too thin oil is also possible). If both readings are too high, it could be due to an overfilled crankcase, an excessively high viscosity of the oil filled into the engine, or a malfunction in the oil pump pressure relief valve.
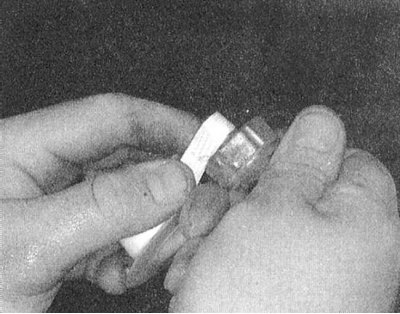
12. Lubricate the threaded part of the sensor with sealant, or wrap it with Teflon tape / FUM tape. Screw the sensor into the head of the oil filter base and tighten it to the required torque (12 Nm). Restore the original wiring connection.
