General information
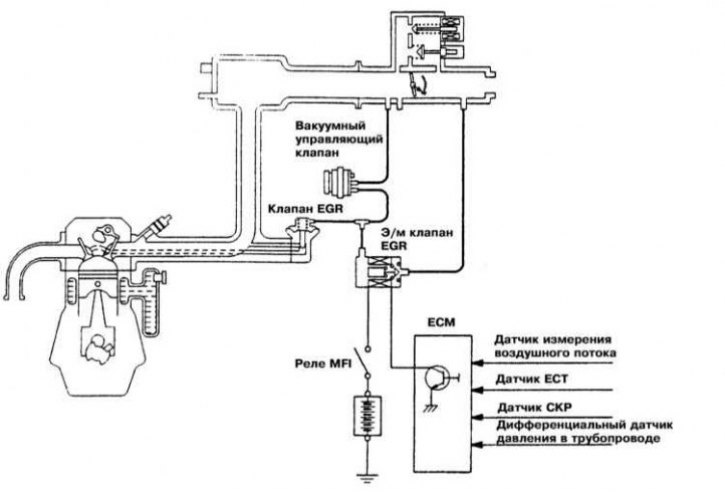
In order to reduce the emission of nitrogen oxides into the atmosphere (NOx) the design of the engine provides for the removal of part of the exhaust gases into the intake pipeline through the EGR valve. This admixture of exhaust gases to the air-fuel mixture leads to a decrease in its combustion temperature. The amount of exhaust gases mixed into the intake pipeline is determined by several factors, such as: engine speed, depth of vacuum in the pipeline, backpressure in the exhaust system, coolant temperature, throttle position, etc.
All valves in the EGR system are of vacuum design. See the VECI label for model-specific vacuum hose routing diagrams.
Examination
EGR valve
1. Remove the EGR valve from the vehicle. Make sure the valve assembly plug travel is not restricted by carbon deposits. If necessary, flush the valve with solvent.
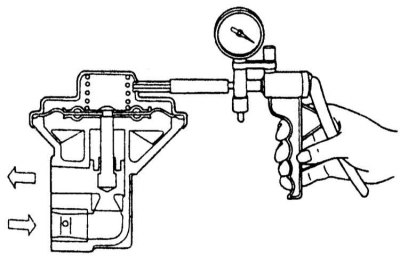
2. Connect a hand vacuum pump to the valve and apply a vacuum of 508 mmHg. Art. (67 kPa). And check the tightness of the assembly - the vacuum must be maintained.
Note. If the valve is equipped with two vacuum connections, check them one by one.
3. On models 1990÷1993. issue at a rarefaction depth of less than 46 mm Hg. Art. (6 kPa) valve must remain closed (blowing air through it should not be possible), the valve opens at a depth of depression of more than 216 mm Hg. Art. (28.7 kPa).
4. On models since 1994, on the contrary, with a rarefaction depth of less than 40 mm Hg. Art. the valve must pass air, and more than 221 mm Hg. Art. - No.
5. A defective valve must be replaced.
EGR temperature sensor (only california models)
1. The EGR temperature sensor is only installed on California US models. The sensor monitors the temperature of the exhaust gases passed through the EGR control valve and provides relevant information (as voltage signals) on PCM. An open in the sensor circuit leads to the operation of the corresponding control lamp.
2. Remove the EGR temperature sensor from the engine.
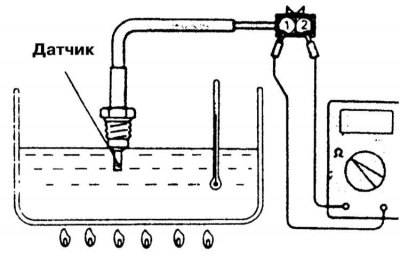
3. Lower the sensor into a container with hot water, place the thermometer there as well - try not to allow the sensor and thermometer to come into contact with the walls of the vessel. When heating water, measure the resistance of the sensor at various temperatures. Compare the result with regulatory requirements (at a temperature of 50°C, the resistance of the sensor should be 60÷83 kOhm, at 100°C - 11÷14 kOhm).
4. A defective sensor must be replaced.
Thermal vacuum valve (TVV)
1. Having previously marked, disconnect the vacuum hose from the TVV.
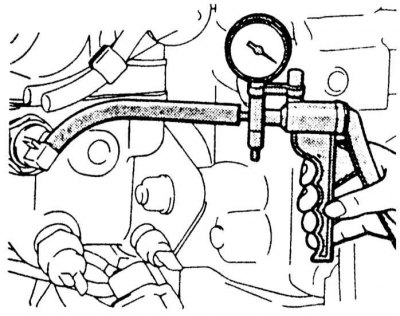
2. Connect a hand vacuum pump to the valve's vacuum hose.
3. Create a vacuum on the TVV: at a temperature of less than 50°C, the vacuum valve should not be held (valve open), switching occurs at temperatures above 80°C.
4. A defective valve must be replaced.
EGR Port Vacuum Check
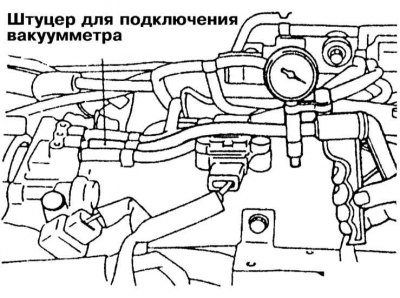
1. Disconnect the vacuum hose from the throttle body. Connect a hand vacuum pump/vacuum gauge to the freed fitting.
2. Start the engine and, slowly raising its speed, follow the readings of the device. On models 1990 ÷ 1993, the depth of vacuum should increase in proportion to the engine speed, on models from 1994, it should remain unchanged.
EGR solenoid valve
Models 1990÷1990 issue
1. Having previously marked, disconnect the vacuum hose marked with yellow-green stripes from the EGR solenoid valve.
2. Disconnect electrical wiring.
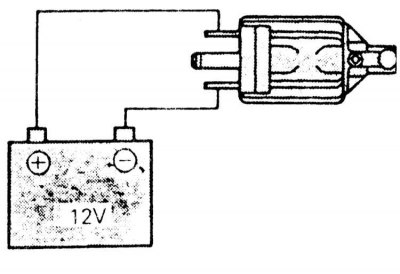
3. Connect a hand vacuum pump to the freed fitting on the valve assembly. Create a vacuum and check the tightness of the assembly with voltage applied to it without it. In the first case, the vacuum must be securely held, in the second - no.
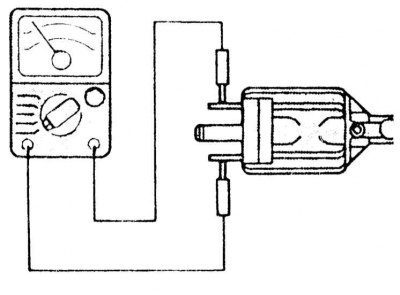
4. Measure the resistance of the valve at a temperature of 20°C, - the nominal value is 36÷44 Ohm.
5. A defective valve must be replaced.
Models since 1994 issue.
1. Having previously marked, disconnect the vacuum hose marked with yellow-green stripes from the EGR solenoid valve (yellow stripe on 2.0L turbocharged models, or yellow/white stripe on 2.4L models).
2. Disconnect electrical wiring.
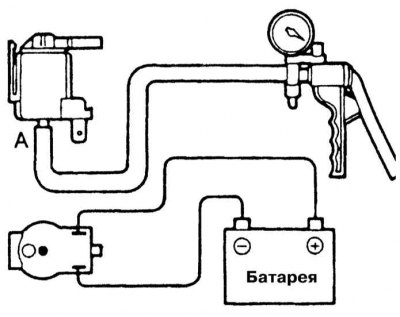
3. Connect a hand vacuum pump to port A. Create a vacuum and check the tightness of the assembly with voltage applied to it without it. In the first case, the vacuum should not be held, in the second - it should.
4. Measure the resistance of the valve at a temperature of 20°C, - the nominal value is 36÷44 Ohm.
5. A defective valve must be replaced.
Removing and installing components
EGR valve
Removing
1. Disconnect the negative cable from the battery.
Attention! If the stereo system installed in the car is equipped with a security code, before disconnecting the battery, make sure that you have the correct combination to activate the audio system!
2. If necessary, remove the air cleaner with intake ducts.
3. With appropriate equipment (california models) Disconnect the wiring from the EGR temperature sensor.
4. Having previously marked, disconnect the vacuum hose from the EGR valve.
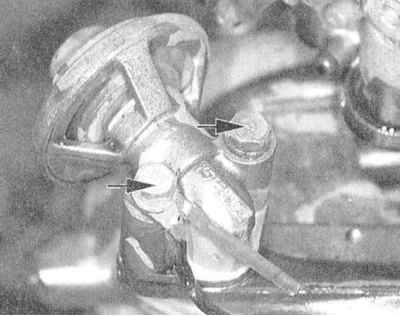
5. Turn out fixing bolts and remove the valve.
6. Thoroughly clean the mating surfaces, completely removing all traces of the old gasket material from them.
7. Check the free movement of the valve plug, if necessary, flush the assembly with solvent to remove carbon deposits.
Installation
1. After replacing the gasket, put the valve assembly in its original place on the engine.
2. Screw in the mounting bolts and tighten them to the required torque (10÷15 Nm: for models 1.5 l, 1.6 l and 1.8 l; 15÷22 Nm: for 2.0 l models; 22 Nm: for models 2.4 l and 3.5 l; and 11 Nm: for 3.0 l models).
3. Connect a vacuum hose to the valve.
4. If equipped, connect the wiring to the EGR temperature sensor.
5. Install the air cleaner assembly with air ducts.
6. Connect the negative cable to the battery.
EGR temperature sensor (only california models)
Removing
1. Disconnect the negative cable from the battery.
Attention! If the stereo system installed in the car is equipped with a security code, before disconnecting the battery, make sure that you have the correct combination to activate the audio system!
2. Disconnect the wiring from the sensor.
3. Turn out the gauge and remove it from the engine.
Installation
1. Screw the sensor into its regular place and tighten it with the required force (12 Nm).
2. Connect the wiring to the sensor.
3. Connect the negative cable to the battery.
Thermal vacuum valve (TVV)
Removing
1. Disconnect the negative cable from the battery.
Attention! If the stereo system installed in the car is equipped with a security code, before disconnecting the battery, make sure that you have the correct combination to activate the audio system!
3. Disconnect the vacuum line from the TVV.
4. Using a wrench (try not to touch the fragile non-metal parts of the assembly with the wrench) unscrew the valve and remove it from the engine.
5. Check the valve assembly for cracks or other mechanical damage. Replace if necessary.
Installation
1. Lubricate the valve threads with sealant, then screw the assembly into place.
2. Tighten TVV to the required torque (20÷40 Nm), - try not to touch the fragile non-metal parts of the assembly with the wrench.
3. Connect the vacuum hose to the TVV.
4. Connect the negative cable to the battery.
EGR solenoid valve
Removing
1. Disconnect the negative cable from the battery.
Attention! If the stereo system installed in the car is equipped with a security code, before disconnecting the battery, make sure that you have the correct combination to activate the audio system!
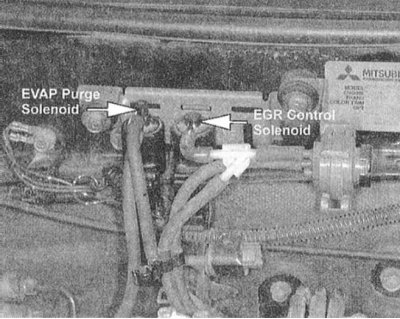
2. Mark and disconnect vacuum hoses from the valve.
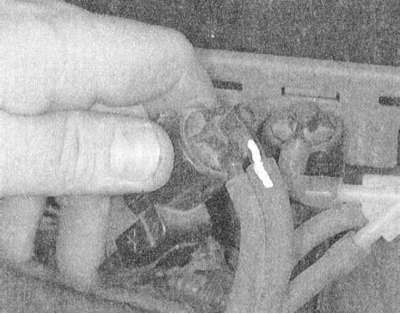
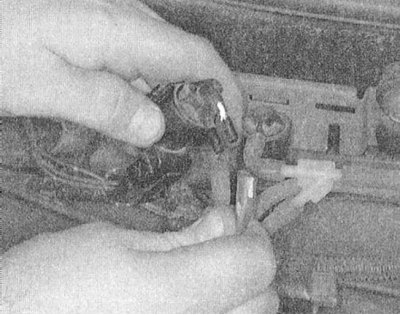
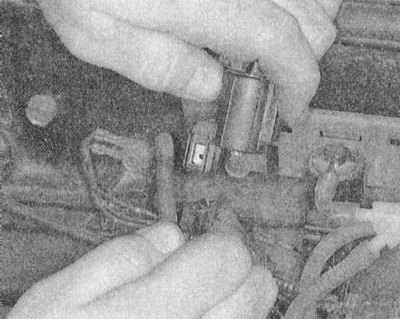
3. Disconnect the electrical wiring from the valve.
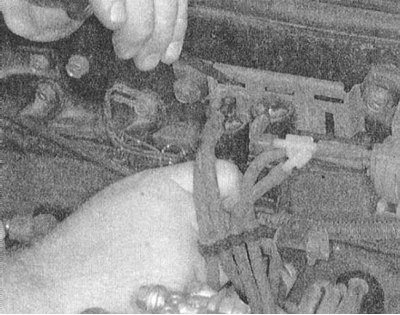
4. Remove the solenoid valve from the support bracket. Replace if necessary.
Installation
1. Attach the valve to the support bracket.
2. Connect electrical wiring.
3. Connect the vacuum hoses (follow the label).
4. Connect the negative cable to the battery.
